POSTS
How I solved the Unlockme APK Challenge at c0c0n XII (Dome CTF)

“Is there a challenge that I can solve?”, I asked. My teammates must have felt interrupted because everyone was too busy solving different puzzles that were part of the ongoing Dome CTF competition at c0c0n XII. After waiting for a while, I heard Bharath say, “There’s an Android challenge, Riddhi! Would you like to solve it?”. I was delighted to hear what I heard. Without giving any second thoughts, I said, “Yes! I will”.
I fired up my laptop and waited eagerly to begin the game, as Bharath shared the APK file with me.
I did not have my rooted Android device handy, so I started the Android emulator instead.
I did a mental check of all the tools that I might need in order to inspect the target Android app, both, statically and dynamically. Mentioned below is the list of tools that I used while solving this challenge
- Android Debug Bridge (adb)
- Unzip utility
- Tree utility
- Apktool
- A text editor
- Enjarify
- JD-GUI
- Virtualenv
- Python3
- Frida server
- Frida tools
- Objection
Even though the challenge seemed to be daunting initially, as I went through the source code and understood the application better, it became very evident that all that I needed to do was to read a secret from one of the native methods in the library named as “hello-jni”. However, in order to attain this clarity, I had taken a little longer route instead. In this blog post, I am sharing my story of how I actually managed to unlock the Unlockme.apk.
What is the first thing that you would do with an APK file?
Install it.
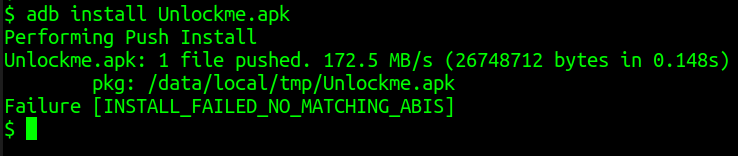
The APK installation had failed on my existing Android emulator, and, hence, I realised the need to figure out the architectures supported by the target APK. I ran following command in my command prompt to unzip the target APK
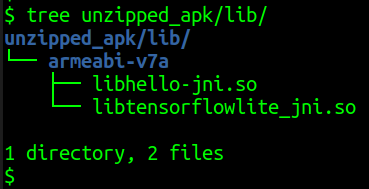
$ unzip Unlockme.apk -d unzipped_apk
Once the APK file was unzipped, I checked the contents of the lib folder, which looked like this
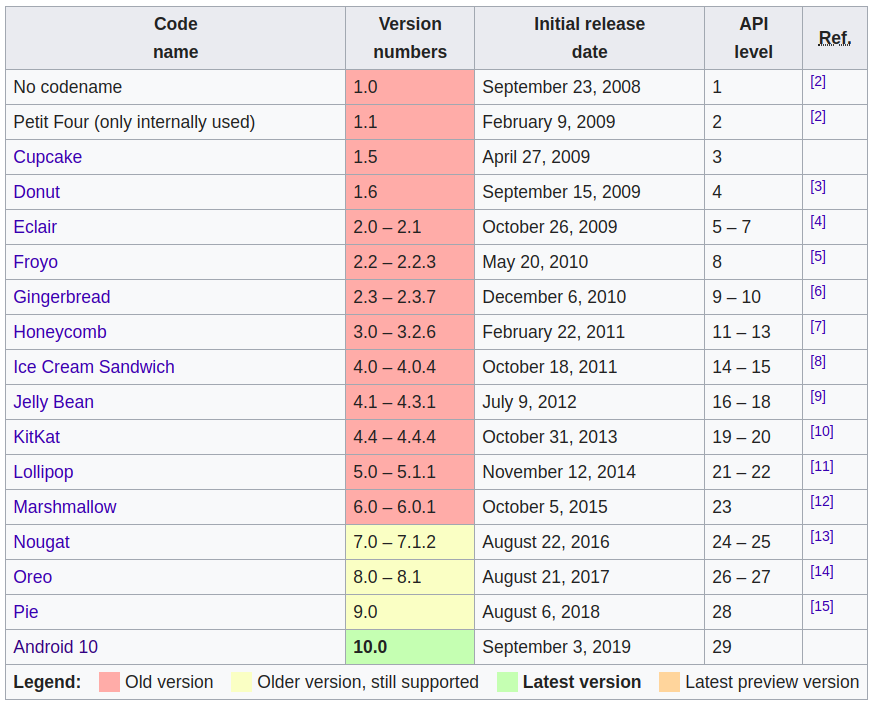
Now that I knew the architecture, the next thing that I had to know was the supported API level. I decoded the APK file using apktool, and opened the decoded AndroidManifest.xml file in a text editor.
$ apktool d Unlockme.apk
On analysing the decoded AndroidManifest.xml file, I found a line of code that suggested that the APK was compiled for use with Android 9.

What happens when you install the APK in an emulator?
I created several emulators one after the another, because, somehow, I was unable to find the right emulator that could support both, the ARM architecture and the API level 28.
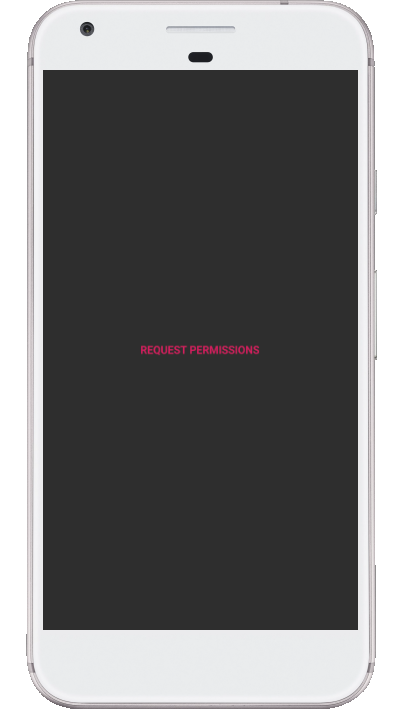
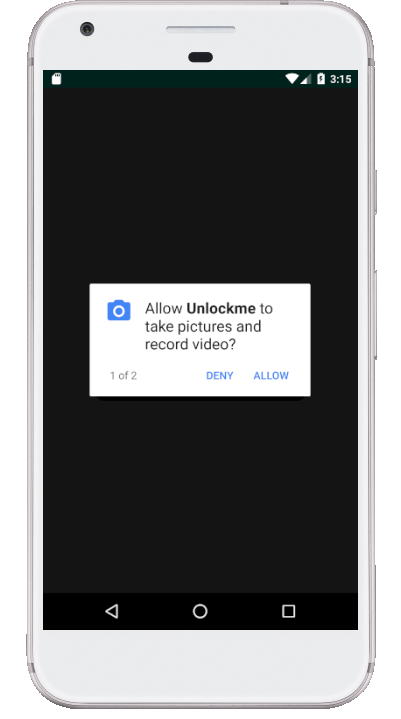
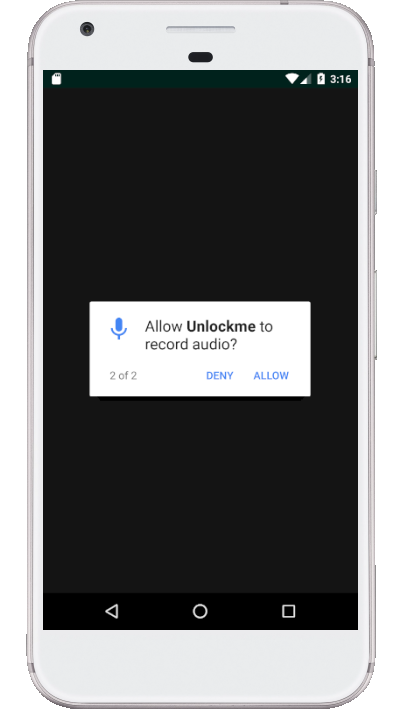
Even though Unlockme.apk was getting installed successfully in ARM supported emulators (after too much of wait time), nothing useful seemed to happen post-installation. All instances of Unlockme.apk that was installed in any kind of emulator, was either throwing an error or was getting stuck at a black screen after successfully requesting for permissions to take pictures, record video, and record audio.
I got a feeling that the emulator might not be capable enough to assist me any further in solving this challenge. Or, maybe, I was too excited to try this entire exercise on a real device, and probably was finding a reason to dump the emulators.
Let’s install the APK in a real device!
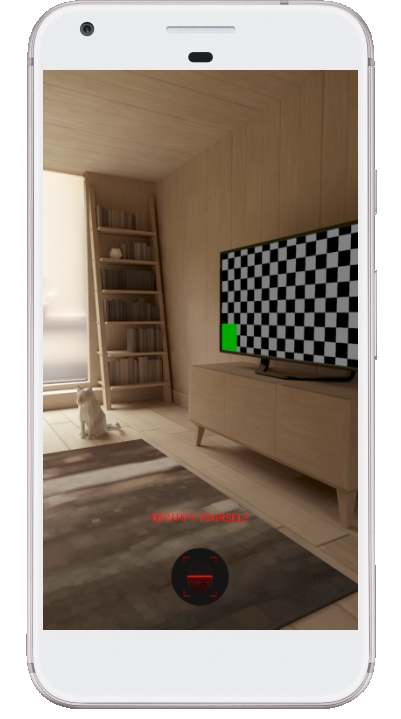
The Unlockme.apk file got installed in my rooted Android device without any hassle. I granted all required permissions, and reached the familiar black screen with the message “Identify Yourself”.

The red line contained securely inside a tiny square box, at the bottom-centre of the black screen, gave me a feeling that maybe a fingerprint scan is required in order to unlock the Android app. However, as soon as I clicked on this “Identify Yourself” icon, the tiny red line expanded its length and filled the entire screen horizontally, from left to right. Also, this elongated red line started moving upwards and downwards as if it was trying to scan something. I thought maybe I should try scanning my face.
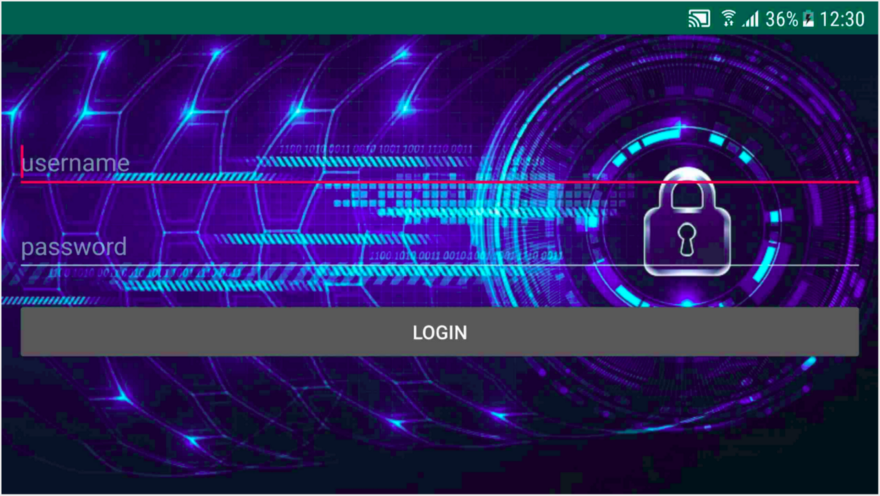
I did not see any control that would turn the camera and allow me to use the front camera to scan my face with ease. As it was late in the night, and I was all by myself, I was left with no choice but to somehow scan my own face. With a little bit of difficulty, I managed to scan my face. After waiting for a while, that felt like eternity, the scan completed successfully. I felt happy to see that I was successfully redirected to a login screen.
At this moment, I decided to go through the decompiled source code to find any hard-coded secrets and to understand the login process.
Source Code Analysis
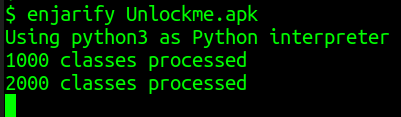
Just like most of us, I find reading a piece of Java code easier than reading the corresponding Smali code. Using enjarify, I managed to obtain the Java bytecode. Thereafter, I used JD-GUI to view the Java source code of “.class” files.
$ enjarify Unlockme.apk

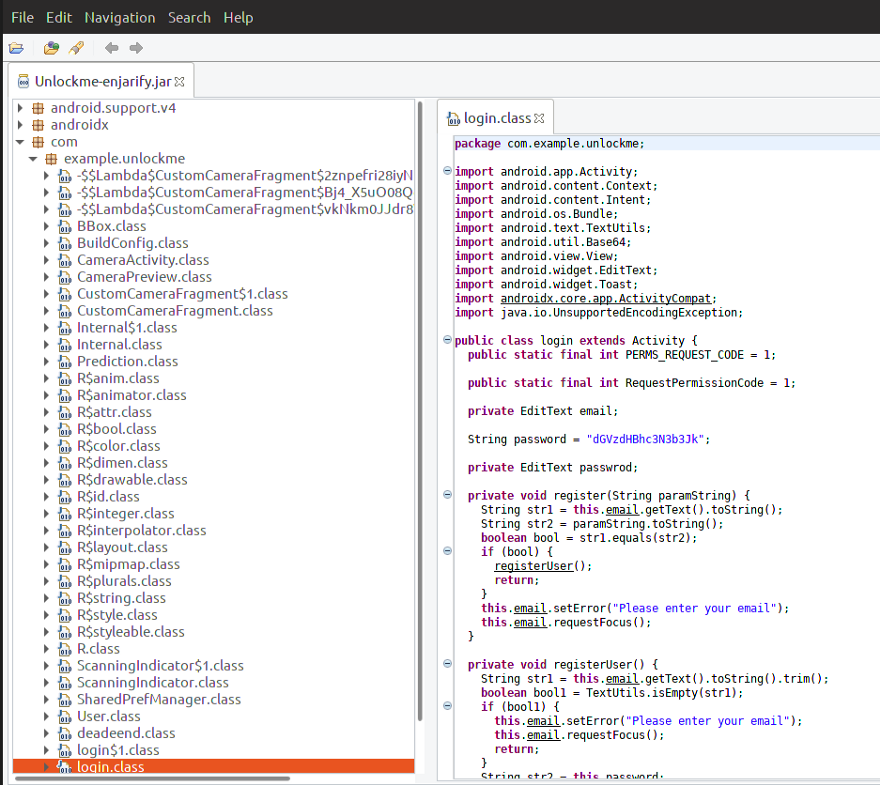
The most obvious place to start looking for details was the login.class file. In no time, I found a hard-coded secret labelled as password.


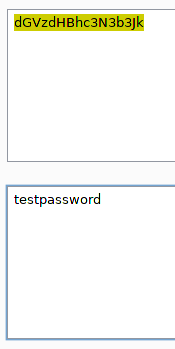
After analysing the source code, it was clear that the hard-coded password was being protected using Base64 encoding. I used a Base64 decoder to obtain the plain-text password as testpassword.
Now that the password was obtained, I had to figure out the username. I had no clue what the username should look like, so I decided to have a closer look at the two functions named as register() and registerUser().
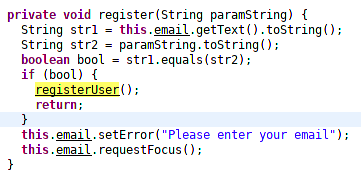
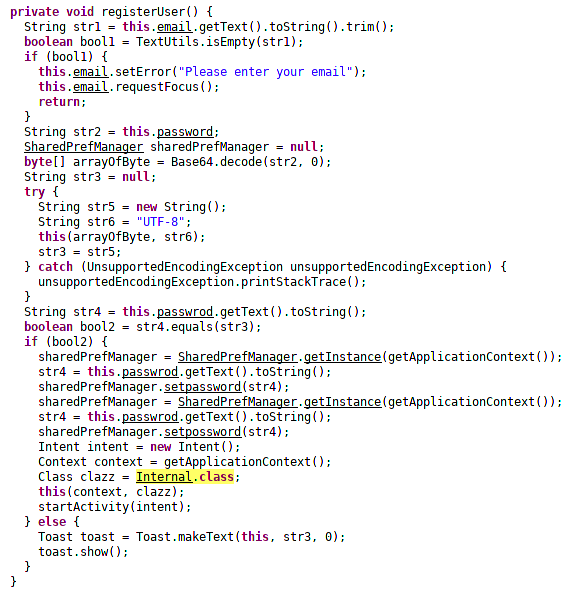
After a little analysis of the two functions, it became clear that if user manages to provide a valid username and password on the login screen, then the Internal activity gets displayed.
What is happening inside the Internal.class file?
I looked at the source code of Internal.class file. However, unless I could visualise what’s happening, I feel stuck. Thus, I decided to reach the Internal class and see what this activity looks like on the screen of an Android device.
But, I still don’t know the username. There are more than one ways to reach the Internal activity. But, in this blog I will discuss only one of the (probably fastest) ways to reach this internal activity.
I downloaded frida-server-12.7.5-android-arm64.xz file, unzipped it, and installed frida-server in the same Android device where Unlockme.apk was installed.
$ adb root
$ adb push frida-server /data/local/tmp/
$ adb shell "chmod 755 /data/local/tmp/frida-server"
$ adb shell "/data/local/tmp/frida-server &"

I installed frida-tools in my Linux host machine. I created a Python3 virtual environment, and installed objection in my host machine.
The Unlockme Android app was still showing the login screen on my Android device. I ran the following frida-ps command to obtain the process ID and process name of the running instance of Unlockme app
$ frida-ps -Ua | grep Unlock

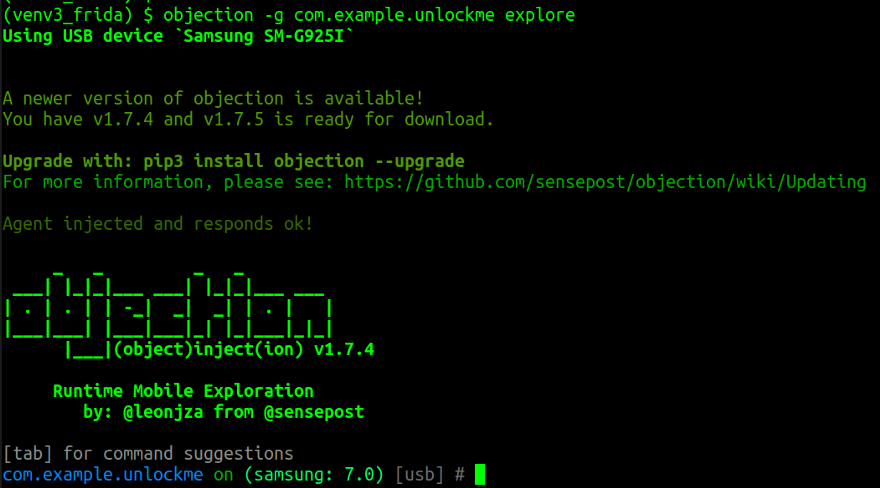
Now that we knew the process name, I ran the following command (from within the Python3 virtual environment) to explore the Unlockme app using the objection tool
(venv3_frida) $ objection -g com.example.unlockme explore
By running the following objection command, I was able to see the list of activities that could be launched
# android hooking list activities

Can I launch the com.example.unlockme.Internal activity directly?
Let’s see…
By running the following objection command I was able to launch the Internal activity successfully
# android intent launch_activity com.example.unlockme.Internal

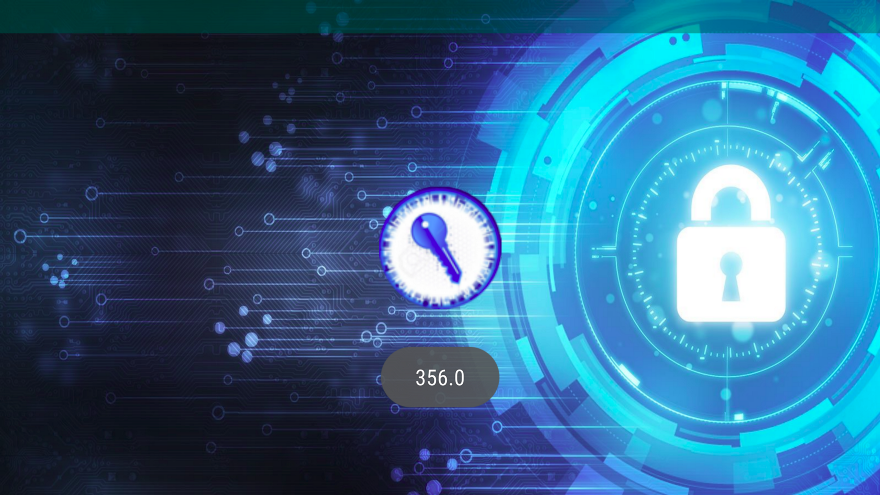
…and the Internal screen looked like this on my Android device
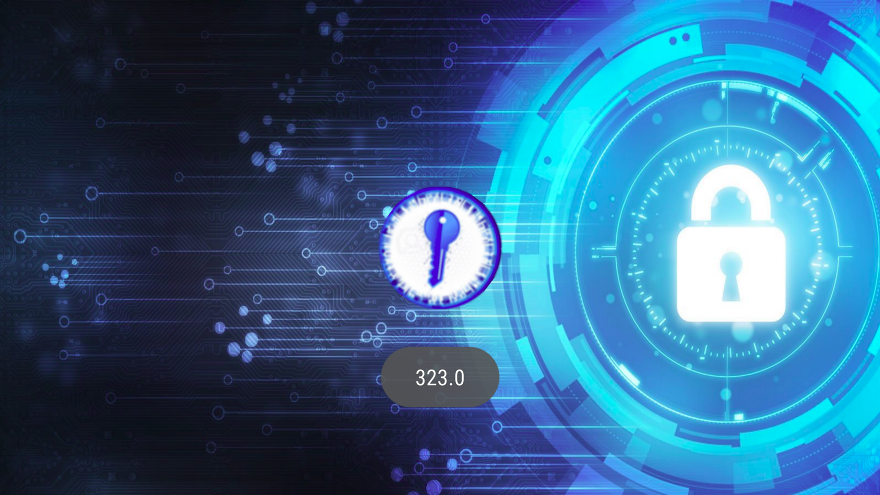
Did you notice the number 323.0 displayed on the Internal screen? What is it?
Random numbers were displayed momentarily when the device was moved in random directions. I had no idea how these numbers were being generated. I decided to look into the source code once again.
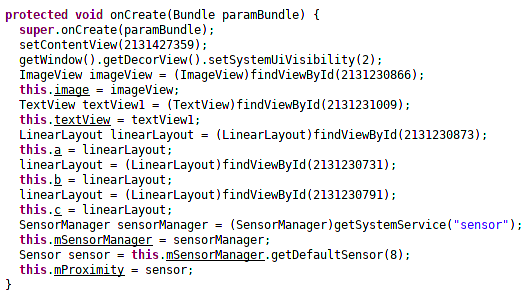
I couldn’t see anything interesting in the onCreate() method, except for the word “sensor” which indicated that the random numbers were probably generated because of some kind of sensor mechanism.
On scrolling further down the file Internal.class I noticed a method named as startTimer()
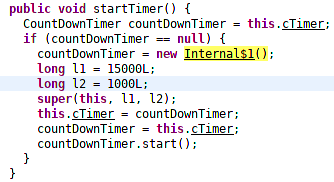
What could be happening inside the Internal$1.class file?
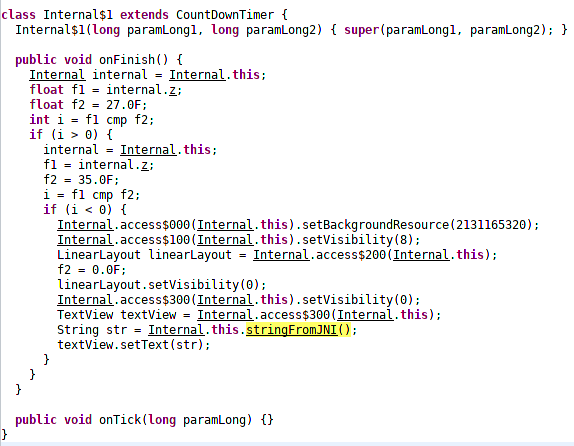
The variable “str” in Internal$1 class file is being assigned a value that is returned by a native method declared in the Internal class.

Where are these native methods defined?
On scrolling to the top of the Internal class file, I noticed the following static declaration

Aha! Looks like the puzzle has been solved. Almost!
The “hello-jni” library seemed to contain a native method that could potentially return the secret string that we were looking for.
But, time was running fast and I knew very little about how to deal with the JNI files. I approached Abhisek Datta and asked for his help. With a little discussion and a focused guidance, I was able to formulate the final steps.
The Final Steps
I created a Frida script that would do following two things
- Call registerUser() function directly when login screen is displayed
- Modify startTimer() function implementation to display the value of string that’s returned by the native method named as stringFromJNI()
My final Frida script looked like this
setImmediate(function() {
 Java.perform(function x() {
 console.log("Inside Java");
 var internal = Java.use("com.example.unlockme.Internal");
internal.startTimer.implementation = function(b) {
 console.log("b = " + b);
 this.startTimer();
 console.log("stringFromJNI: " + this.stringFromJNI());
 console.log("unimplementedStringFromJNI: " + this.unimplementedStringFromJNI());
 }
var loginActivity = Java.use("com.example.unlockme.login");
loginActivity.register.implementation = function(a) {
 console.log("a = " + a);
 this.registerUser();
 }
});
})

I executed this Frida script by running following command
$ frida -U -l register.js -f com.example.unlockme - no-pause
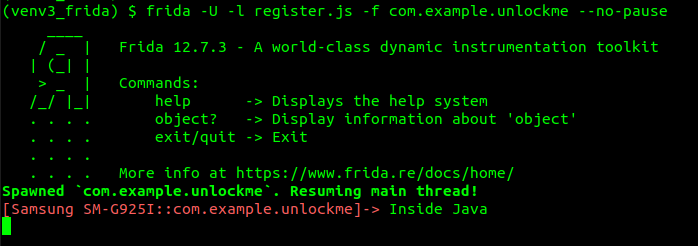
On my Android device, I was presented with a screen wherein I had to scan my face. After scanning my face successfully, I was presented with the familiar login screen.
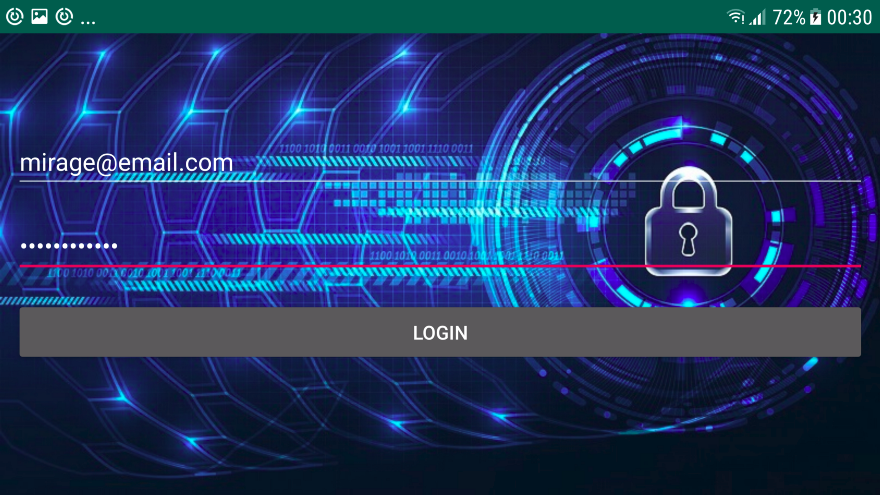
I entered a random email ID in the username field. I set the password as testpassword. I clicked the LOGIN button. And, I was successfully redirected to the Internal activity that was potentially dealing with sensor-based inputs.

However, I was yet to obtain the string value returned by stringFromJNI() native method.
Somehow, the startTimer() method did not get invoked, yet. “What did I miss?”, I asked myself!
I turned my Android device into all directions with a hope that the startTimer() method could be invoked somehow. After a few attempts, I finally saw a random digit being displayed on my Android device.
I quickly switched to the command-line window, on my host machine, where I had executed the Frida script and checked its output. I saw the much awaited secret text printed in clear-text.
domectf{CK9eXT3gse0CvIqHODsipohUfXxjgFW}
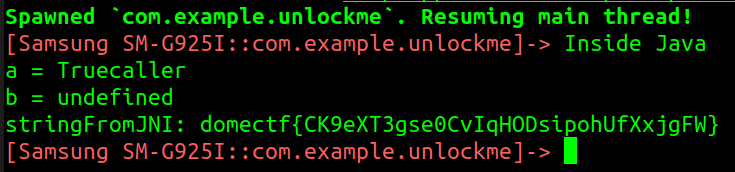
The Unlockme.apk challenge was solved. I had found the flag, finally!